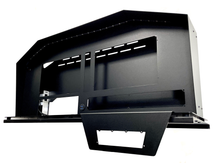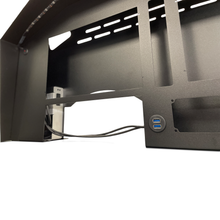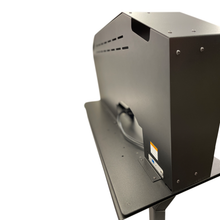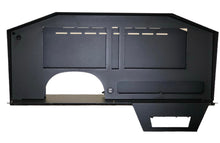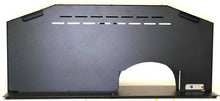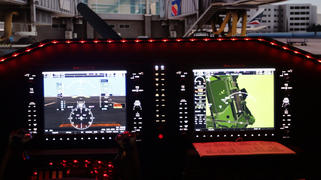
The RealSimGear Modular Panel System is the perfect way to house your flight sim avionics. It provides a stable base that does not require any desk clamps and is fully enclosed. The system includes an industrial USB hub, USB and power cabling and an included USB > HDMI adapter (for 2 screens) so that only a single USB3 and power connection are required if you need to move your panel around.
The front panel can be easily swapped out if your needs change, a range of different front panel are available including:
- Standard G1000 Layout
- TBM Layout
- Custom Layouts
A front mounted power switch is included so you can easily shut down power to the entire system. The panel is illuminated with RGB LED lighting, and there is also a front mounted dual USB socket so other devices can be connected, or you can easily charge your iPad when using ForeFlight.
Panel system that includes the following:
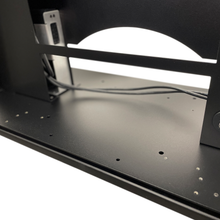
- Heavy duty base with rubber feet
- Glare shield
- Back panel
- USB hub mounting bracket
- 10 Port USB Hub (with additional 7 or 10 port as required for custom panels)
- USB3 > HDMI adapter (additional adapter as required for custom panels)
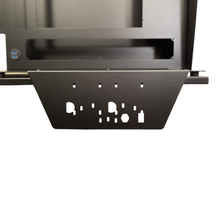
- Honeycomb Alpha and Bravo mounting plates (if using these controls)
- Throttle mouning bracket as appropriate for controls chosen
- Internal cable bundle for USB, HDMI, and power cables to avionics
- 12vDC 5A power supply
- USB3 cable to connect system to PC
The Modular Panel System does NOT include any avionics or controls, those must be purchased separately.
Customer Reviews
- Reviews
- Questions
An excellent componet for any simbuild
Over the past four years, while using MSFS2020 I've upgraded from using very well depreciated saitek (analog) flight instruments, to using the Realsimgear G1000 MFD/PFD/GMA-1347 glass cockpit instruments alongside the Honeycomb Alpha and Bravo Quadrants, and a VR Headset. The goal of this setup is used to supplement (not replace) real world training. Prior to buying to the modular panel system, it would take me easily in excess of ten minutes to move, mount and plug in the cables (only to do the complete opposite when breaking down the setup, as my rig also is used for work). Instead of plugging in 12+ cables, I'm only plugging in two (power and USB). The only gripe I have is with the adapter plates for the honeycomb quadrants The Alpha doesn't have a lip that extends below the bottom of the modular system frame. Attempting to make the goosneck plate flush with the front adapter plate results in the Bravo bumping into the front of the frame (and not properly secure). This didn't appear to be explained via the tutorial video on YouTube. The difference in mounting offsets between the Alpha and Bravo is about 1/4 - 1/2. As a suggestion, for future plates, it might be beneficial in the manufacturing process to add a couple of offset lines to the back of the adapter plate to account for these slight difference.


